Put in a 1 quart jar and cover with apple cider vinegar, cover with tight knit cheesecloth, muslin, old tshirt or hand towel and secure with a rubber band.
Mix once a day with a spoon or chop stick for one week to help the acetic acid to produce. Acetobactor like air. Leave for 1 month.
In a large bowl, toss the shredded cabbage with the smoked bourbon salt until well combined. Let sit for 30 minutes, stirring occasionally, until the cabbage starts to release liquid.
Transfer the salted cabbage to a 1 gallon fermentation crock or jar. Use a wooden spoon or tamper to press down on the cabbage, releasing more liquid. Continue this process until the liquid rises above the cabbage.
In a small bowl, mix together the diced pickles, pickle juice, garlic and dill weed. Pour this mixture over the top of the cabbage.
Place a weight, such as a smaller jar filled with water, on top of the cabbage to keep it submerged under the liquid. Cover the crock with a lid or cheesecloth.
Allow to ferment at room temperature for 4-6 weeks, checking periodically and skimming off any scum that forms on the surface. Once it reaches your desired flavor, transfer to cold storage.
The smoked bourbon salt flavor will mellow over time. Enjoy the kraut on sandwiches, burgers, hot dogs, or as a side dish.
The smoked bourbon salt provides the smoky, oaky, and subtly sweet flavor that would normally come from whiskey, without the alcohol content. This gives you all the flavor of whiskey kraut in a non-alcoholic version. Adjust the amount of salt to taste. Enjoy your homemade Whiskey Pickle Kraut!
Combine the first 4 ingredients in a medium bowl and whisk quickly until a thick gel forms.
Add salt and again mix until thoroughly combined.
Add starter, and mix thoroughly.
Next add the flour and stir until flour is well incorporated. Then add oil, stirring until combined.
Cover and let ferment for approximately 4 hours at room temp (if your home is cold it may take up to 6 hours).
After it is done fermenting it will be slightly puffed up but not double in size. Preheat oven to 500*f with a pizza stone, cast iron skillet, or baking pan in it.
Gather two pieces of parchment paper big enough for your pizzas and divide the dough in two.
Put one piece of dough on each of the parchment papers and with wet hands shape the dough into the pizza shape you desire, leaving a ridge for a crust.
Once the pizza is shaped, use a fork to gently poke holes all over the flat (center) part of the crust.
When the oven is preheated, carefully lift the parchment with crust on it, onto the pizza stone (I use a dinner plate to help with the transfer).
Next, close the oven door most of the way and carefully use a spray bottle to spray water on the side of the oven wall to facilitate steam (this is what makes the crust rise) then quickly close the door the rest of the way.
Turn the oven to High Broil for approximately 1 minute. Then turn it back to 500° F to finish baking.
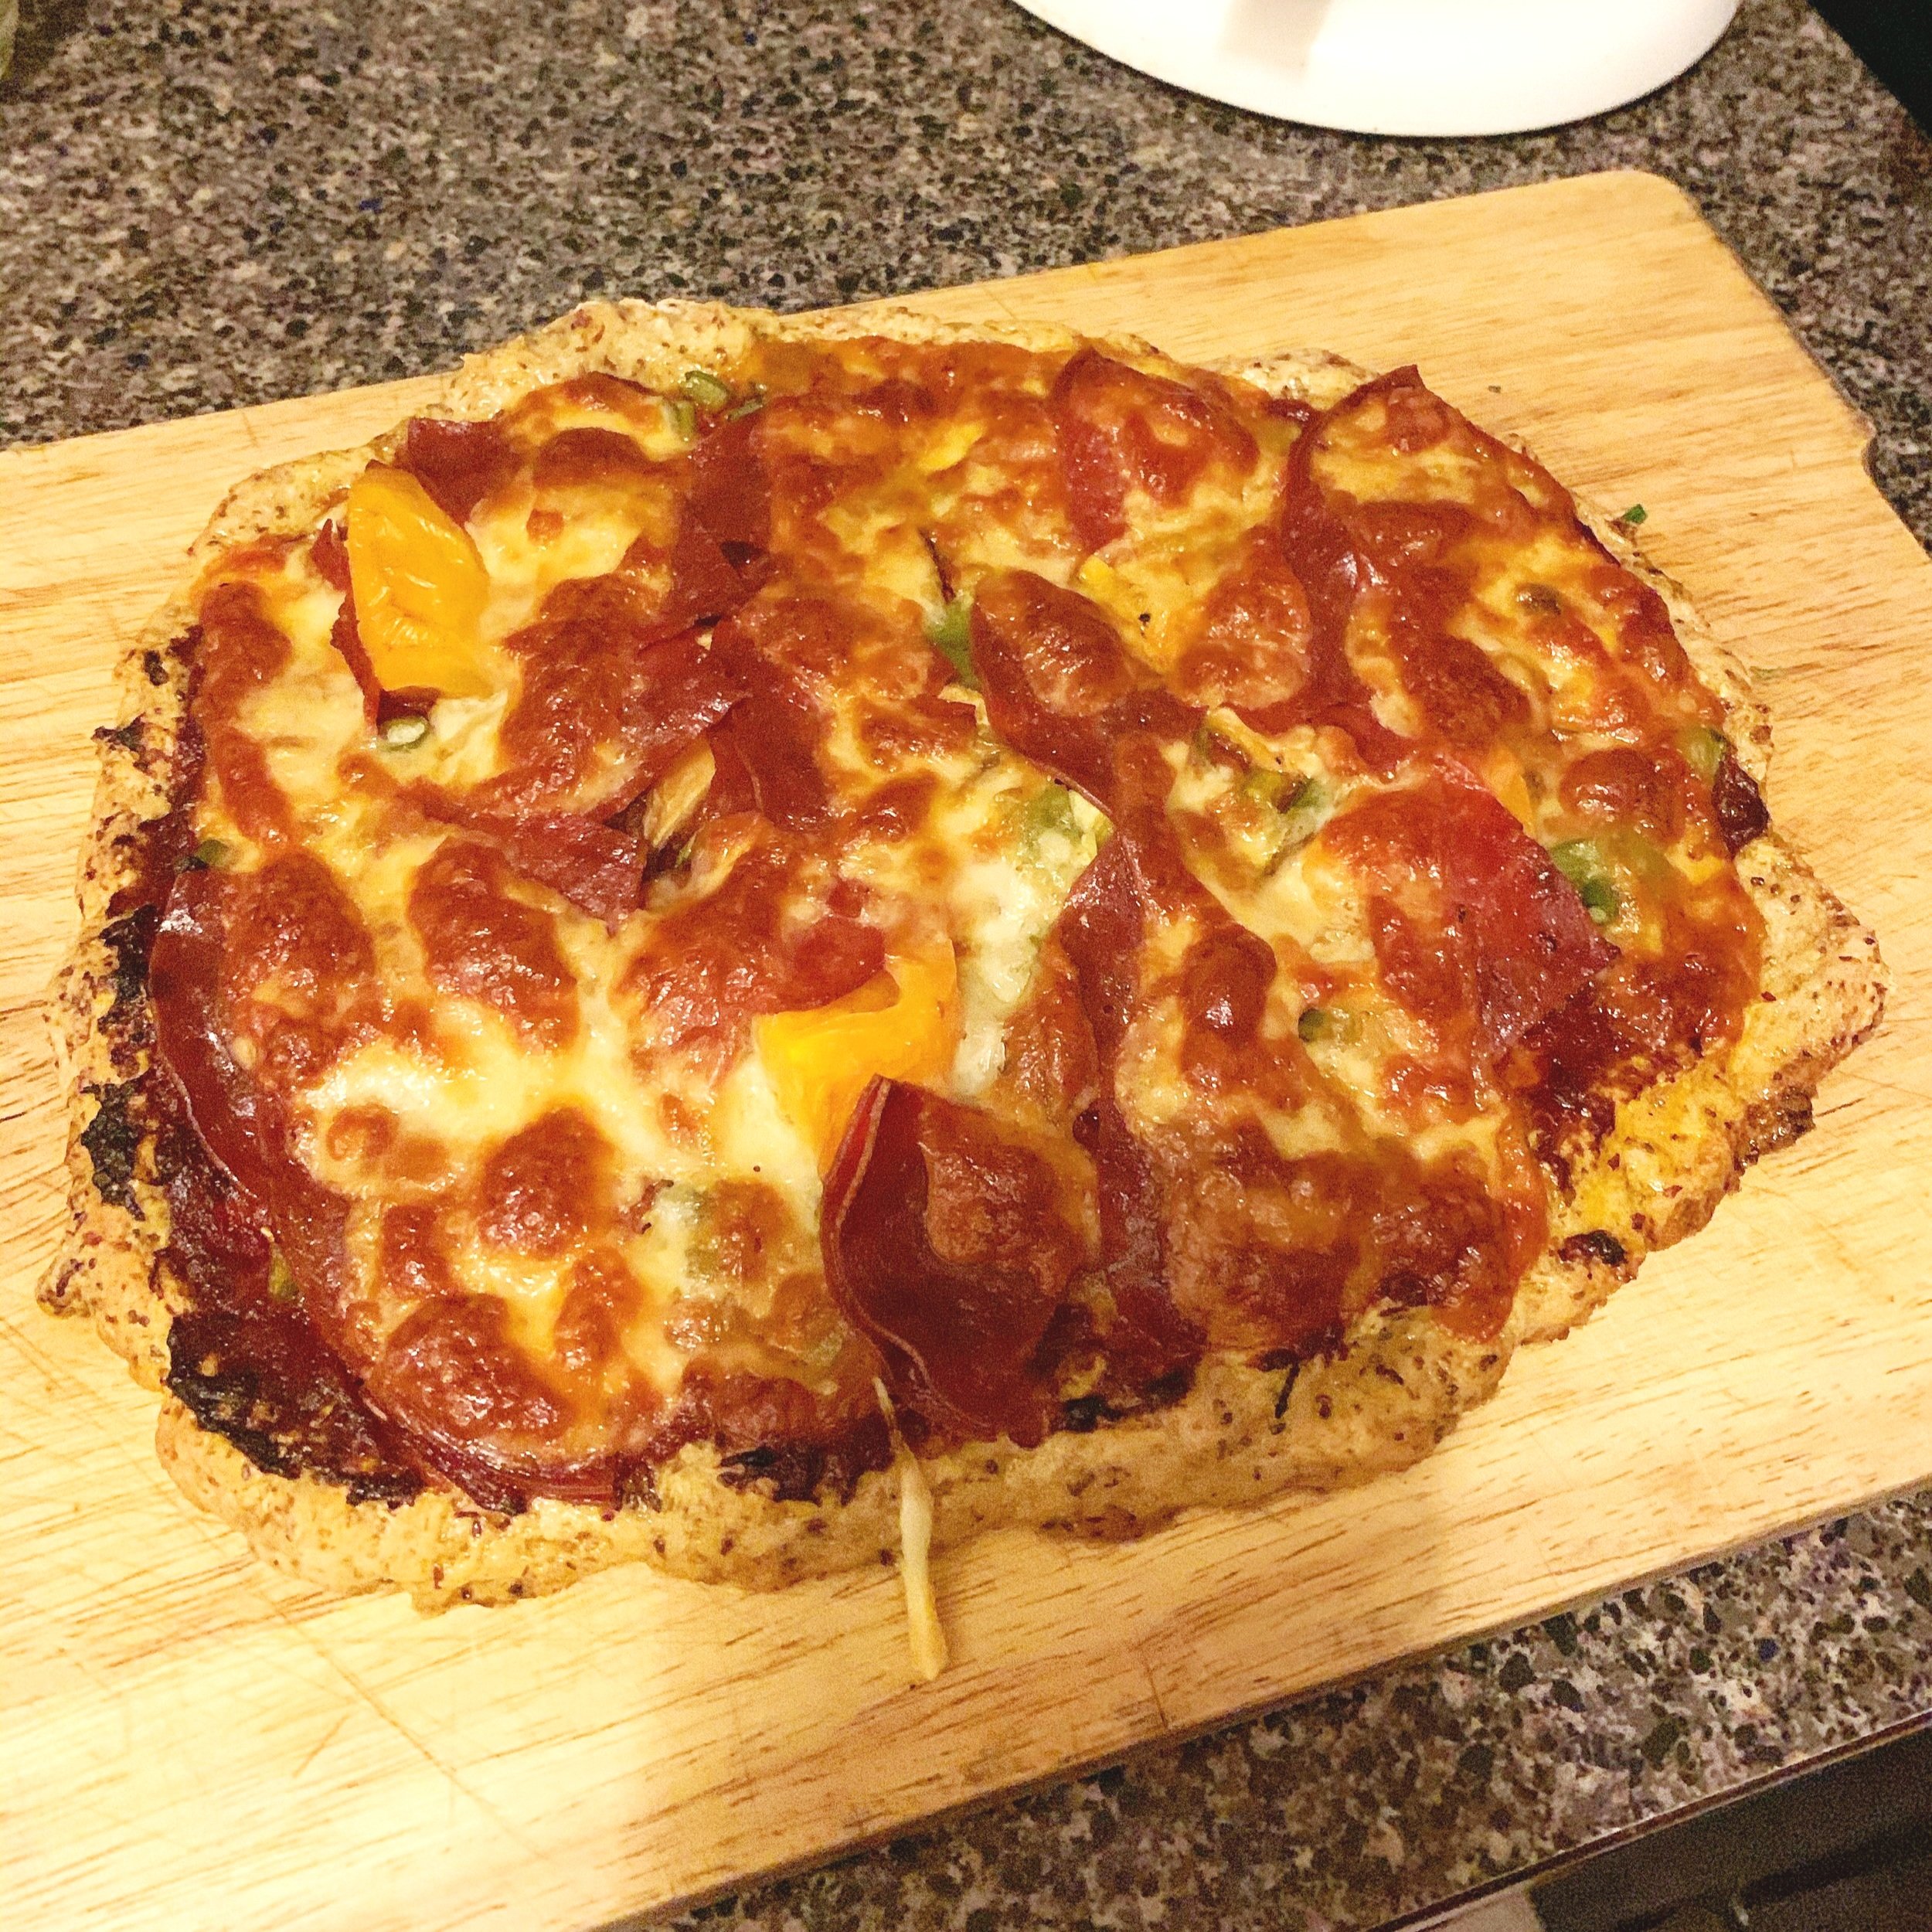
Bake for about 5-7 minutes or until finished rising but not all the way browned yet. Take out of the oven and top as desired.
Put back in the oven to finish baking at 500° F for another 7-10 minutes or until the crust is browning and the cheese or toppings are bubbly.
In a bowl, soak the cashews in water for 8-12 hours. Then drain.
Pour the cashews into a blender with the miso, and blend until they are combined. Cover and let sit for twenty-four hours. Add 1 teaspoon of the salt as well as the oil, and blend until smooth. You may need to push the ingredients down with a spatula a few times to ensure a creamy, smooth consistency.
Pour the cheese mixture into a cheesecloth-lined bowl that is the shape you’d like the finished cheese to be. Refrigerate for four to six hours, or until it is firm. Remove the cheese from the bowl, and peel away the cheesecloth.
Gently rub the remaining 2 teaspoons of salt over the full surface of the cheese, including the bottom. Carefully place it on a wire rack in a cool, dark, and undisturbed place, and allow the cheese to air-dry for seven to twenty-eight days, or longer if desired. After you have aged the cheese, refrigerate and serve, or store in a covered container in the refrigerator for up to one month.
In a glass or ceramic bowl (with a lid), combine the cashews, water, and miso, and stir until they are combined. Cover and let sit for 24 hours.
Pour the cultured cashews into a blender. Add 1 teaspoon of the salt and the ½ cup of coconut oil, and blend until smooth. You may need to push the ingredients down with a spatula a few times to ensure a creamy, smooth consistency.
Pour the cheese mixture into a cheesecloth-lined bowl; a bowl that is the shape you’d like the finished cheese to be. Refrigerate for 4 to 6 hours, or until it is firm. Remove the cheese from the bowl, and peel away the cheesecloth.
Gently rub the remaining 2 teaspoons of salt over the full surface of the cheese, including the bottom. Carefully place it on a wire rack in a cool, dark, and undisturbed place, and allow the cheese to air-dry for 7 to 28 days, or longer if desired.
After you have aged the cheese, refrigerate and serve, or store in a covered container in the refrigerator for up to 1 month.
8–16 ounces of milk (Goat or Cow: Organic, Non-Homogenized, and Raw are best.)
Instructions
Add 1 tablespoon of kefir grains to 8–16 ounces of raw milk in a jar with a lid.
Let it sit on the counter at room temperature for 24–72 hours depending on how sour you like it. You can taste it to check.
Shake a couple of times a day to keep fresh nutrients available to the grains.
Strain the milk so you can keep the kefir grains to make a new batch.
Put the strained kefir in a jar with a tight lid and keep it out of the fridge for a few hours. This will increase fizziness.
**NOTES:The grains multiply. You can share them with friends or keep growing more. They work better if you keep them outside of the fridge. If you need to take time off from kefir, you can place them in some fresh milk and then put them in the fridge indefinitely. Once you are ready to use them again, rinse them off and begin the process from the beginning.
Milk Kefir (Non-dairy)
Ingredients
1 Tablespoon kefir grains
8–16 ounces of full-fat canned coconut milk or you can get young Thai coconuts and use the water and scrape the pulp and blend to make your own coconut milk.
Instructions
Use the same recipe for the original milk kefir; just replace the dairy with coconut milk.
**NOTE:Make sure to put the grains in dairy milk every 2–3 batches to keep them happy and healthy.