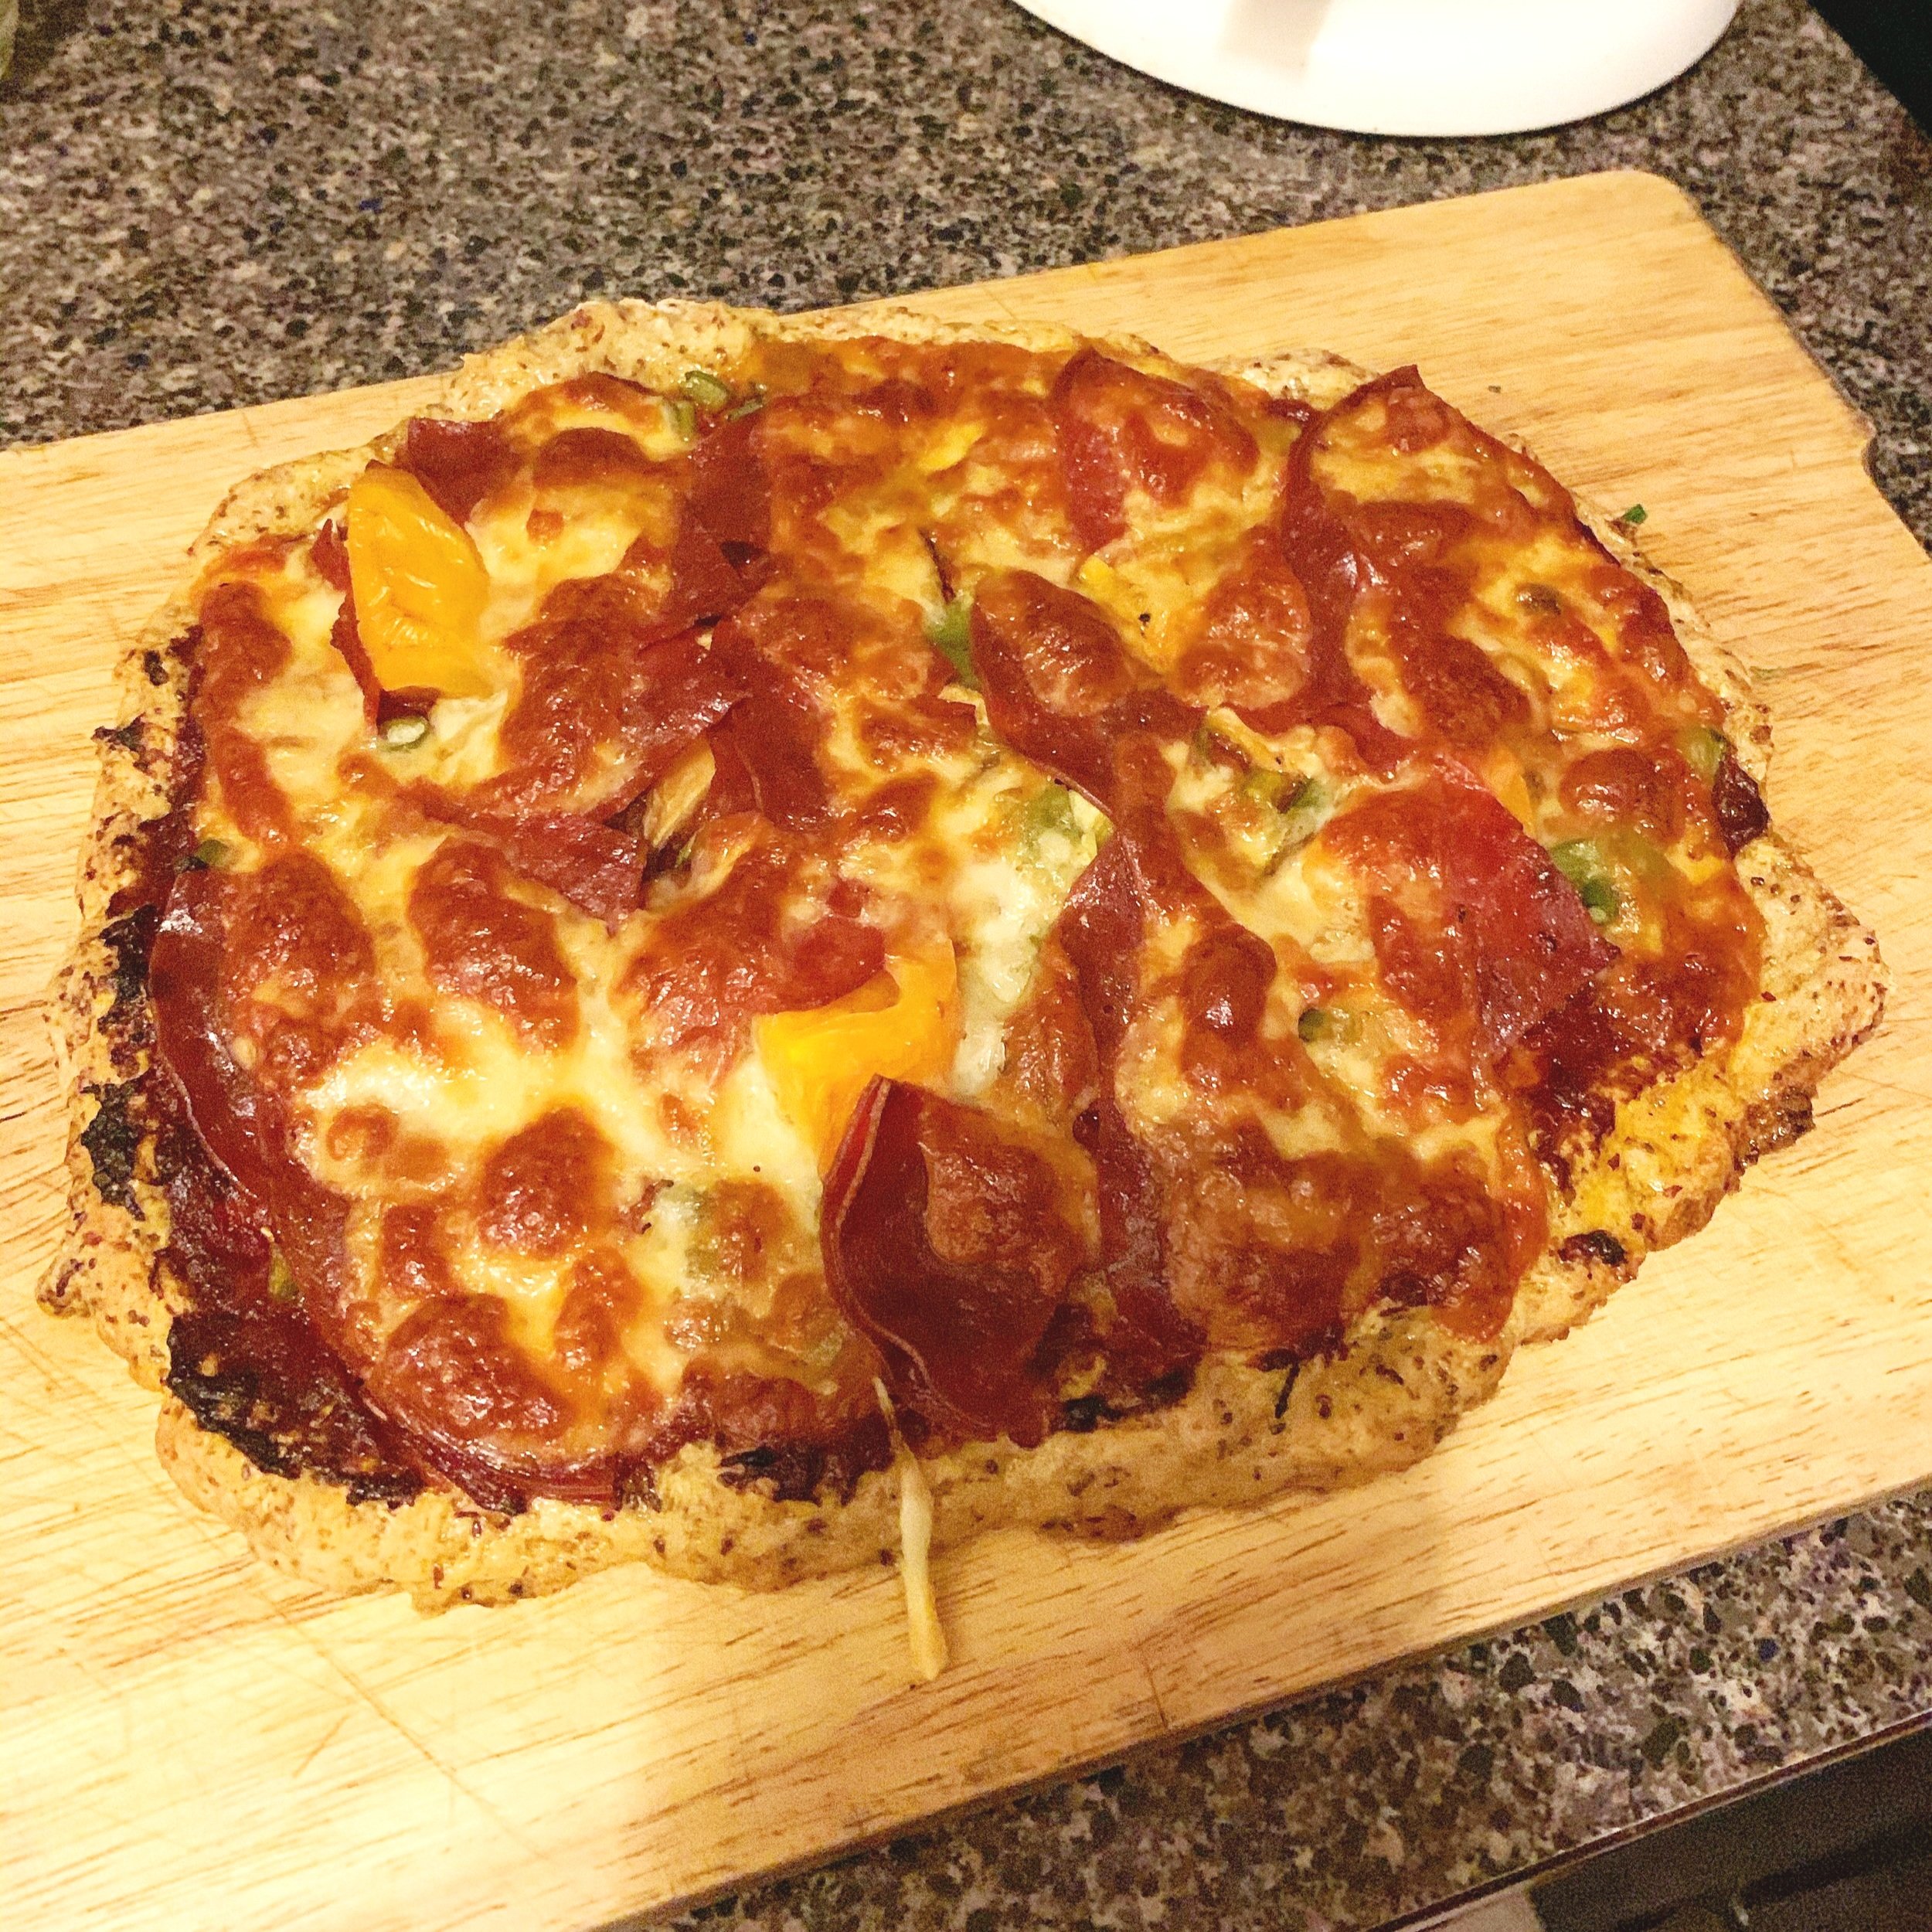
Ingredients
270g non-chlorinated water
1 tbsp ground flax seed
1 tbsp ground chia seed
6g salt
228g Gluten Free Bread Flour Mix (I have also subbed for gluten free all purpose flour with success, just minor differences in texture)
1 tbsp avocado oil
Instructions
Combine the first 4 ingredients in a medium bowl and whisk quickly until a thick gel forms.
Add salt and again mix until thoroughly combined.
Add starter, and mix thoroughly.
Next add the flour and stir until flour is well incorporated. Then add oil, stirring until combined.
Cover and let ferment for approximately 4 hours at room temp (if your home is cold it may take up to 6 hours).
After it is done fermenting it will be slightly puffed up but not double in size. Preheat oven to 500*f with a pizza stone, cast iron skillet, or baking pan in it.
Gather two pieces of parchment paper big enough for your pizzas and divide the dough in two.
Put one piece of dough on each of the parchment papers and with wet hands shape the dough into the pizza shape you desire, leaving a ridge for a crust.
Once the pizza is shaped, use a fork to gently poke holes all over the flat (center) part of the crust.
When the oven is preheated, carefully lift the parchment with crust on it, onto the pizza stone (I use a dinner plate to help with the transfer).
Next, close the oven door most of the way and carefully use a spray bottle to spray water on the side of the oven wall to facilitate steam (this is what makes the crust rise) then quickly close the door the rest of the way.
Turn the oven to High Broil for approximately 1 minute. Then turn it back to 500° F to finish baking.
Bake for about 5-7 minutes or until finished rising but not all the way browned yet. Take out of the oven and top as desired.
Put back in the oven to finish baking at 500° F for another 7-10 minutes or until the crust is browning and the cheese or toppings are bubbly.
Repeat with other pizza!
